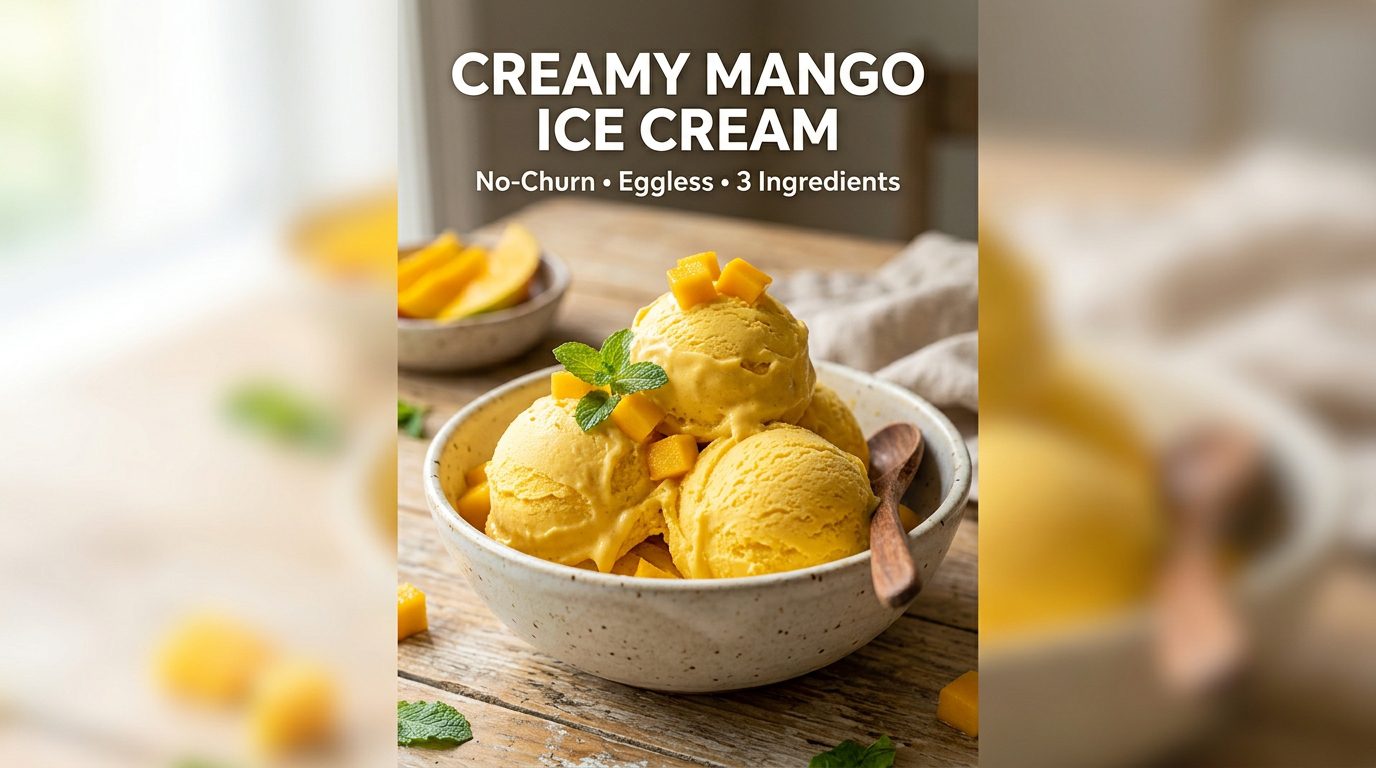
Easy No-Churn Mango Ice Cream Recipe | 3-Ingredient Dessert
Make creamy mango ice cream at home with just 3 ingredients and no churning required. Perfect summer dessert.
📝 Ingredients
Basic Version (3 Ingredients):
- 1 cup mango pulp (fresh or canned)
- 1 cup heavy cream or whipped cream
- 1/2 cup sweetened condensed milk
Enhanced Version (Additional Ingredients):
- 1/4 teaspoon cardamom powder
- 1/4 teaspoon saffron strands, soaked in 2 tablespoons warm milk
- 2 tablespoons chopped pistachios
- 2 tablespoons chopped almonds
- 1 tablespoon chopped cashews
- 1 tablespoon mango pulp (for swirl)
👨🍳 Step-by-Step Instructions
- Prepare the Base: In a large mixing bowl, combine 1 cup mango pulp with 1/2 cup sweetened condensed milk. Mix thoroughly until well combined. The mango pulp should be smooth without any lumps.
- Whip the Cream: In another bowl, whip 1 cup heavy cream until stiff peaks form. This usually takes 3-5 minutes with an electric mixer. The cream should be thick and fluffy.
- Fold Ingredients Together: Gently fold the whipped cream into the mango-condensed milk mixture using a spatula. Do this carefully to maintain the airiness of the whipped cream. Fold until just combined, with no streaks of cream visible.
- Add Enhancements (Optional): Add cardamom powder, soaked saffron with its milk, and chopped dry fruits to the mixture. Fold gently to distribute evenly.
- Transfer to Container: Pour the ice cream mixture into a freezer-safe container (preferably a loaf pan or rectangular container). Smooth the top with a spatula.
- Create Swirl (Optional): Drizzle 1 tablespoon of mango pulp on top and swirl it gently with a knife to create a marble effect.
- Freeze: Cover the container with plastic wrap or aluminum foil. Place in the freezer for at least 8 hours or overnight. For best results, freeze for 12 hours.
- Serve: Remove from freezer 5 minutes before serving to soften slightly. Scoop into bowls or cones. Garnish with chopped dry fruits and a drizzle of mango pulp.
💡 Chef Tips for Perfect Results
✨ Pro Tip
Use ripe, sweet mangoes for best flavor
✨ Pro Tip
Ensure cream is whipped to stiff peaks
✨ Pro Tip
Don’t overmix when folding to maintain creaminess
✨ Pro Tip
Freeze for at least 8 hours for proper texture
✨ Pro Tip
Can be stored in freezer for up to 2 weeks
Creamy Texture Without an Ice-Cream Machine
Use ripe mango purée with minimal added water and whip chilled cream only until it holds soft peaks. Fold gently to preserve the air, then freeze in a shallow sealed container. Press wrap against the surface to reduce ice crystals.
Let the dessert soften briefly in the refrigerator before scooping. For another mango option, see our mango mastani, or compare our homemade mango ice cream.
❓ Frequently Asked Questions
A: Make sure you whip the cream to stiff peaks and freeze for at least 8 hours. The mixture should be very thick before freezing.
A: Yes, canned mango pulp works well. Make sure it’s unsweetened or adjust the condensed milk accordingly.
A: You can reduce the condensed milk to 1/4 cup and add a bit more mango pulp to balance the sweetness.
A: Yes, you can add vanilla extract, chocolate, or other fruit purees. Just maintain the same ratio of ingredients.
A: The freezing time allows the mixture to set properly and develop the right ice cream texture. Less time will result in a softer, slushy consistency.
📊 Nutrition Information (Per Serving)
Ready to Make This Delicious Recipe?
Save this recipe and share it with your friends and family!